NVM and Node.js
How to install NVM
- Windows
- macOS
- Linux
Uninstall Node.js (if you have it installed outside of nvm)
In search on the taskbar, enter Control Panel and select it from the results.
Select Programs > Programs and Features.
Press and hold (or right-click) on the program (Node.js) you want to remove and select Uninstall. Then follow the directions on the screen.
Installing NVM
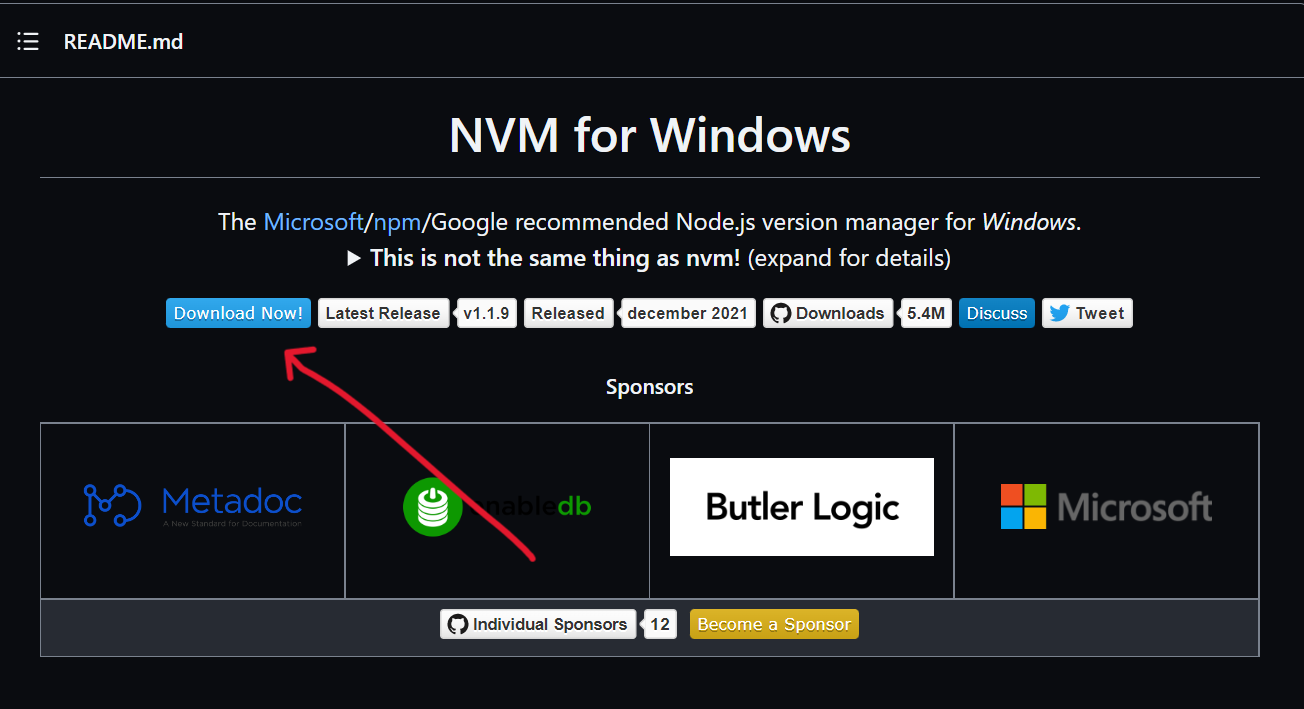
- Head over to the nvm-windows repository. Scroll down to the README.md and click on Download Now !

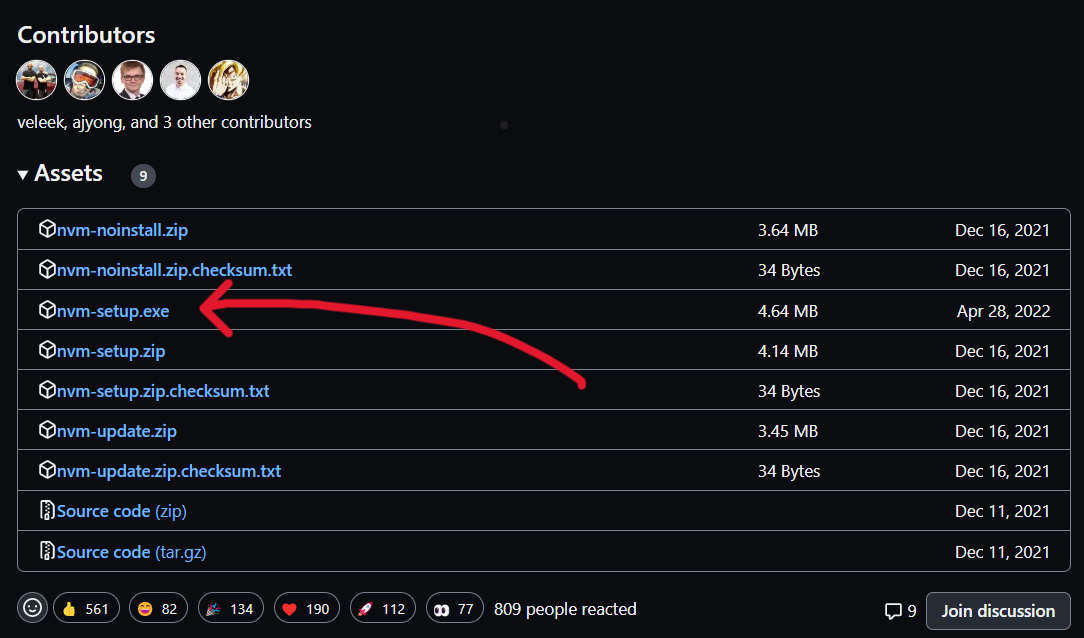
- You now can find the latest version of nvm-windows and download it!

Locate the installer on your computer and open it. Follow the installation wizard to install it.
Open up PowerShell or Command Prompt and run
nvm -vto confirm the installation.You are good to go!
To use NVM, you need to open PowerShell or Command Prompt as an admin. You can also use Git bash.
If you did not install Node with brew, follow the instructions here
Uninstalling Node.js
brew uninstall --force node
Clean up unused folders & dependencies
brew cleanup
Installing NVM
brew install nvm
For instructions on how to install nvm on linux, click here
How to use NVM
Check the list of available versions
Run the following command in your terminal:
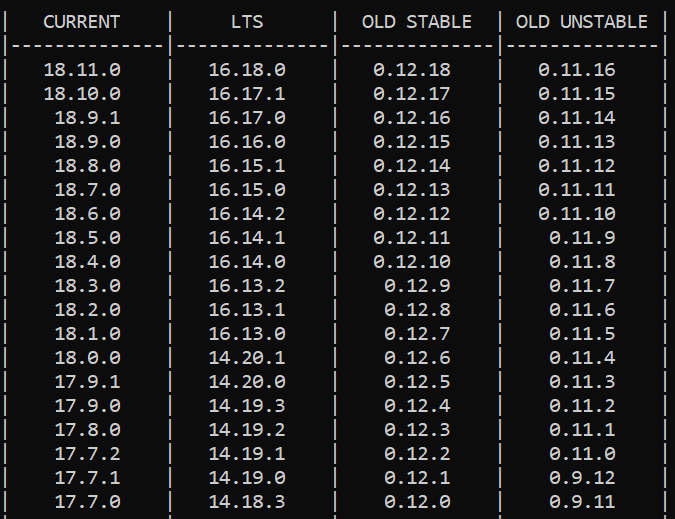
nvm list available
You will see this after running the command above:

Install Node using NVM
To install the latest version of Node, run:
nvm install latest
You can also install different versions of Node:
nvm install node-version-number
nvm install 18.9.1
Once you install a version of Node, the corresponding version of NPM is installed for you. So you don’t need to install NPM separately.
Check your current version of Node
Run the following command in your terminal:
nvm current
Check the list of different versions of Node installed
Run the following command in your terminal:
nvm list
Switch between different versions of Node
Run the following command in your terminal:
nvm use latest
nvm use 17.7.1